DIY Easter Sock Bunny Kids Craft (Cheap)
DIY crafts are a perfect family activity for weekends, rainy days, and especially right now when we are all spending so much time at home!
Crafts keep children busy; they are fun for the whole family; and your children will learn safety plus some new skills. Plus, everyone will get a chance to show off their creativity!
Before we get to our fun DIY Easter Bunny project, let’s explore the origins of the Easter Bunny.
Fun Facts & Trivia About the Easter Bunny
How much do you know about the Easter Bunny? Check out these fun facts and trivia.
The Easter Bunny’s Origins
Hares, rabbits and eggs are all associated with fertility and therefore became linked with Spring and Easter.
The Easter Bunny tradition began in approximately 1682, when he was first called “Osterhase” (The Easter Hare) in Germany. He was “an egg-bringer” who decided whether children were naughty or nice.
Trending Content:
– How to Live Frugally on One Income
– 7 Habits of Women Who Are Never Broke
– 7 Hacks to Make Your Home Look Expensive (on a dime)
An Easter Bunny Wizard?
In Sweden, during the 19th century, there was a mix up regarding the translation of Osterhase, and he became the Easter Wizard. Some children in Sweden still dress up as witches and wizards at Easter, and people there write letters to their neighbors in exchange for sweets and money.
Where did Chocolate Bunnies Originate?
Chocolate bunnies were initially created in the mid-19th century in Germany. Their popularity in the U.S. began in 1890 after a man named Robert Strohecker created a 5-foot-tall chocolate bunny as an Easter promotion. He displayed it in the window of a local department store in Reading, Pa.
Approximately 90 million chocolate Easter bunnies are produced worldwide each year. Chocolate bunnies are often made hollow to make them easier to eat because when chocolate is more than 1/2″ thick it is typically difficult to bite into.
When did the White House Easter Egg Roll Start?
The U.S. White House has hosted it’s Easter Egg Roll since 1878, when it began during the presidency of Rutherford B. Hayes. Although, stories suggest that informal festivities began with White House egg-rolling parties during the presidency of Abraham Lincoln!
Create Your Own Easter Bunny Origins
What follows below are simple steps to make your own Easter Bunny with socks. Use this time to build memories that will last a lifetime … all with items around the house.
Also See: 25+ Easter Crafts Your Kids Will Love
Time To Make Your Own DIY Easter Sock Bunnies
When you make this with your children, make sure they have supervision when using the hot glue gun and scissors.
Materials Needed to Make the Easter Bunny
- Colorful Tube Socks
- Scissors
- Hot glue gun
- Ribbon
- Rice or Cotton stuffing
- Rubber bands
- String or twine
- Googly eyes (or 2 buttons for the eyes)
- Pom poms (or you can use a 3rd button for the nose)
- Cotton ball
Tips to Save When Making DIY Crafts
1. Dollar Tree – All craft supplies are $1
Get your craft supplies for $1. You can find some interesting sock patterns on Dollar Tree’s website. Sign up for a free Dollar Tree account, save on items, and have your craft supplies shipped to your local store for free.
Click here to check out Dollar Tree’s $1 Craft Section.
2. Capital One Shopping – Price Checking Across the Internet
Capital One Shopping compares prices across thousands of internet retailers (like Amazon and Target) to help you find a great deals on your craft supplies. It’s a no-brainer. Give Capital One Shopping a try and start saving today.
Click here to add Capital One Shopping to your browser
Also See: 12 Best Cash Back Apps to Save Easy Money
Steps to Make your DIY Easter Sock Bunny
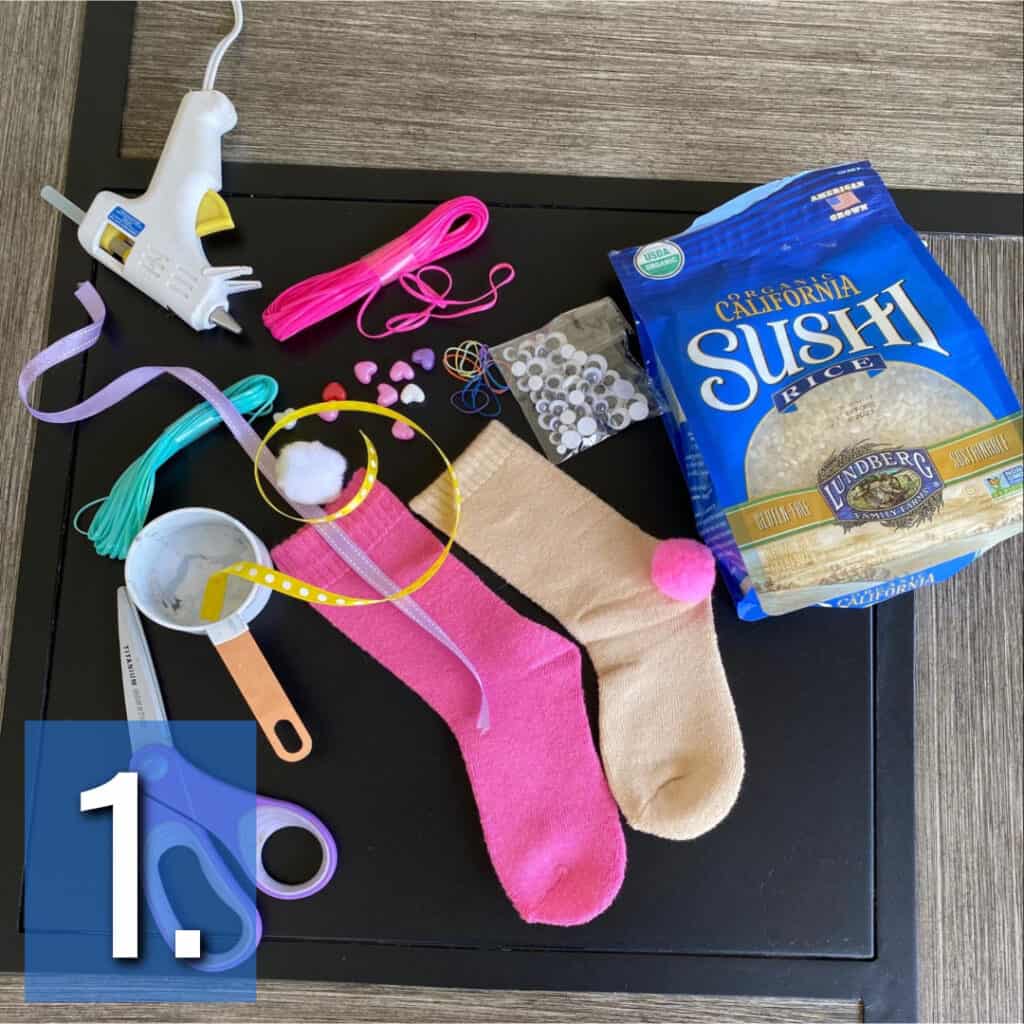
Step 1: Gather Materials
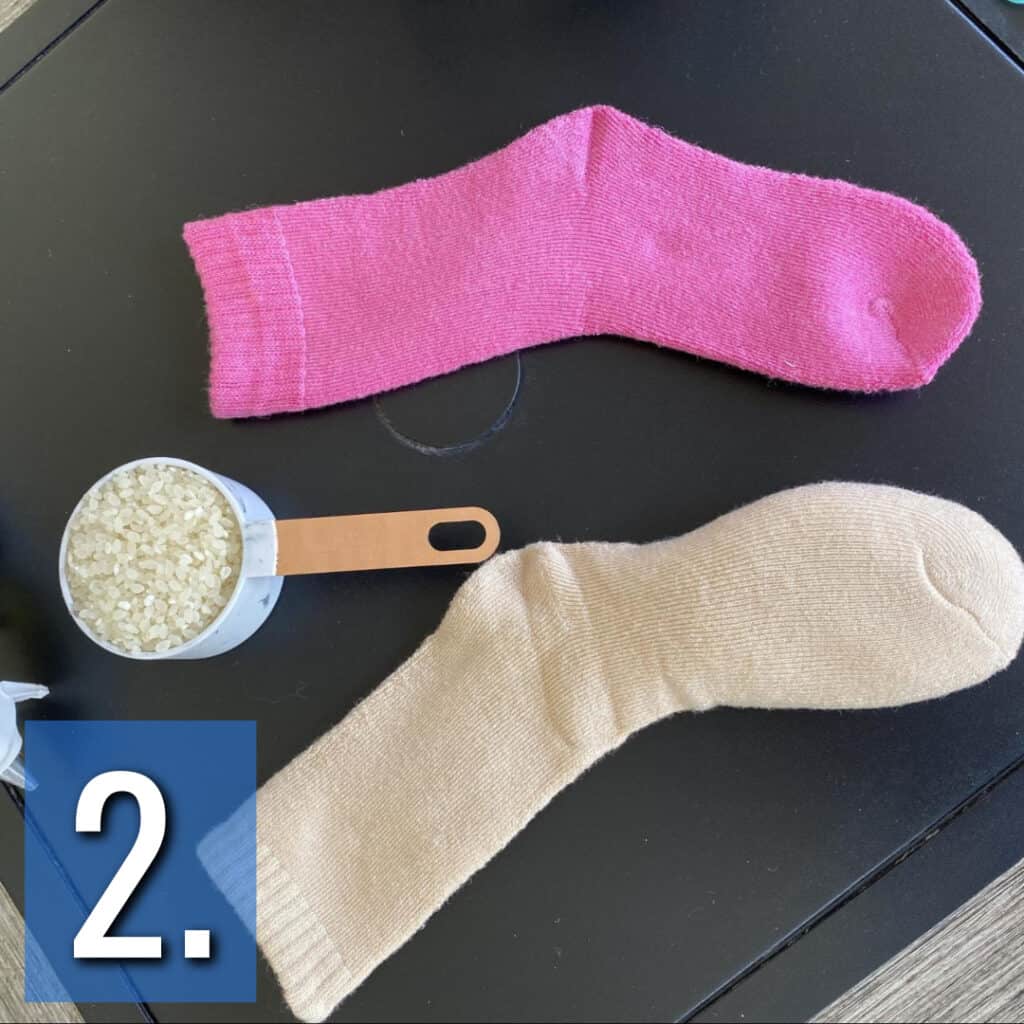
Step 2: Fill sock two-thirds of the way with rice. If you want your Easter Bunny to be soft and squishy, fill it with cotton balls instead of rice!
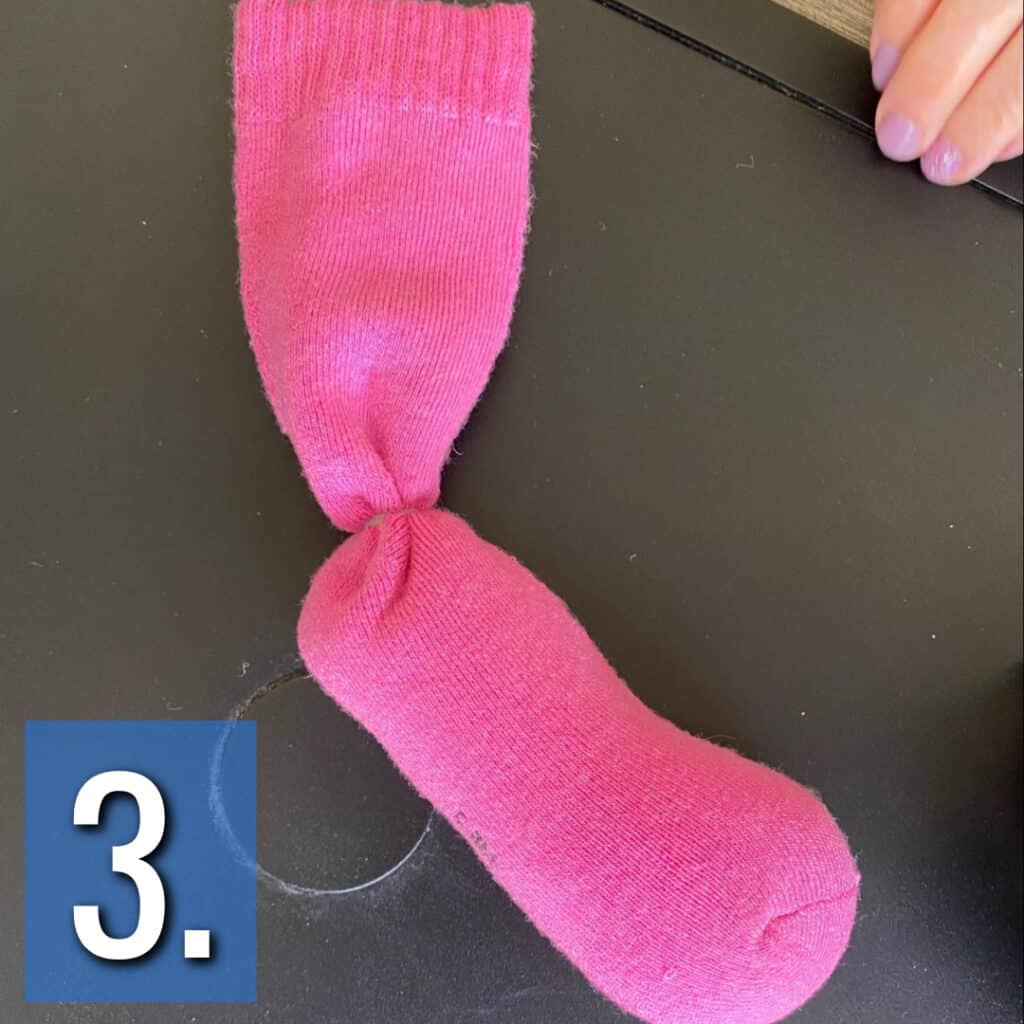
Step 3: Wrap rubber band above rice to tightly seal it all inside, and to create top of bunny’s head

Step 4: Add another rubber band lower down to separate the rabbit head from the rabbit body
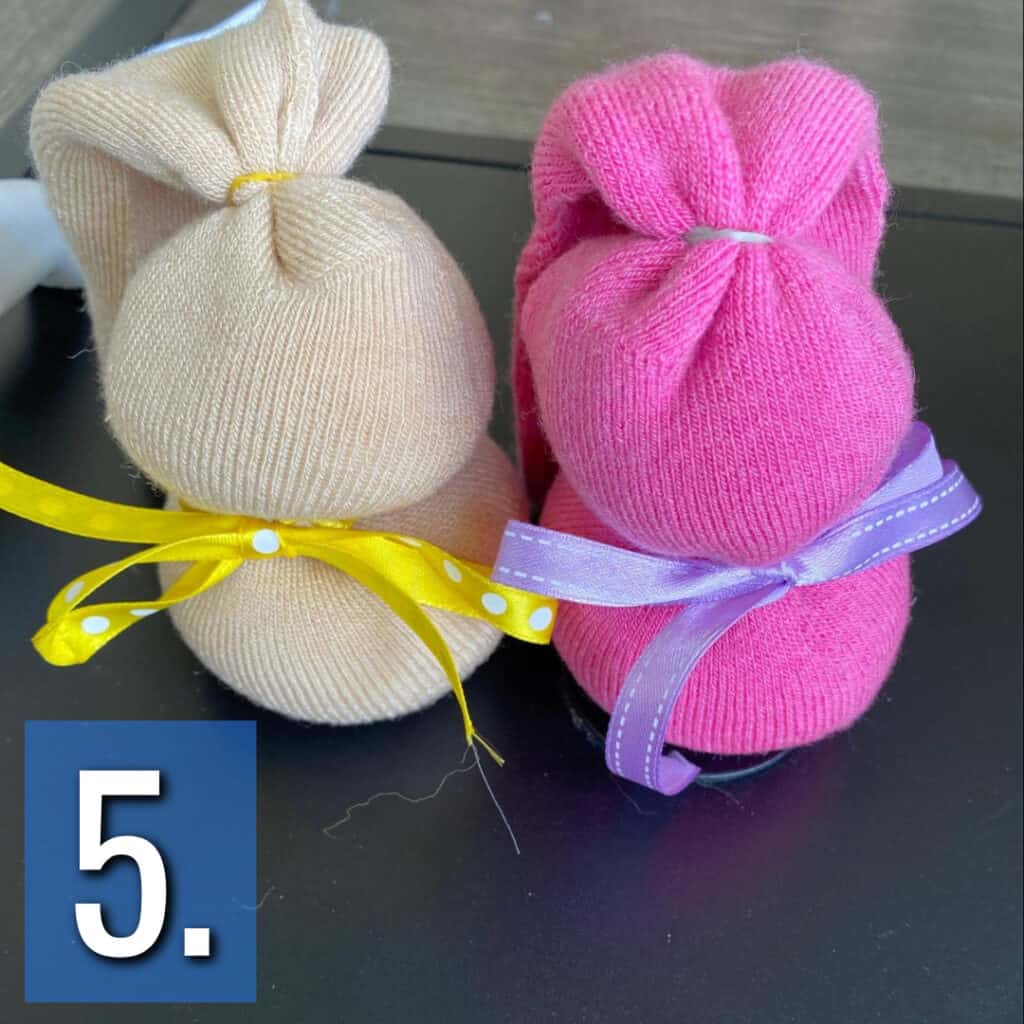
Step 5: Tie a colorful ribbon into a bow around the rabbit’s neck
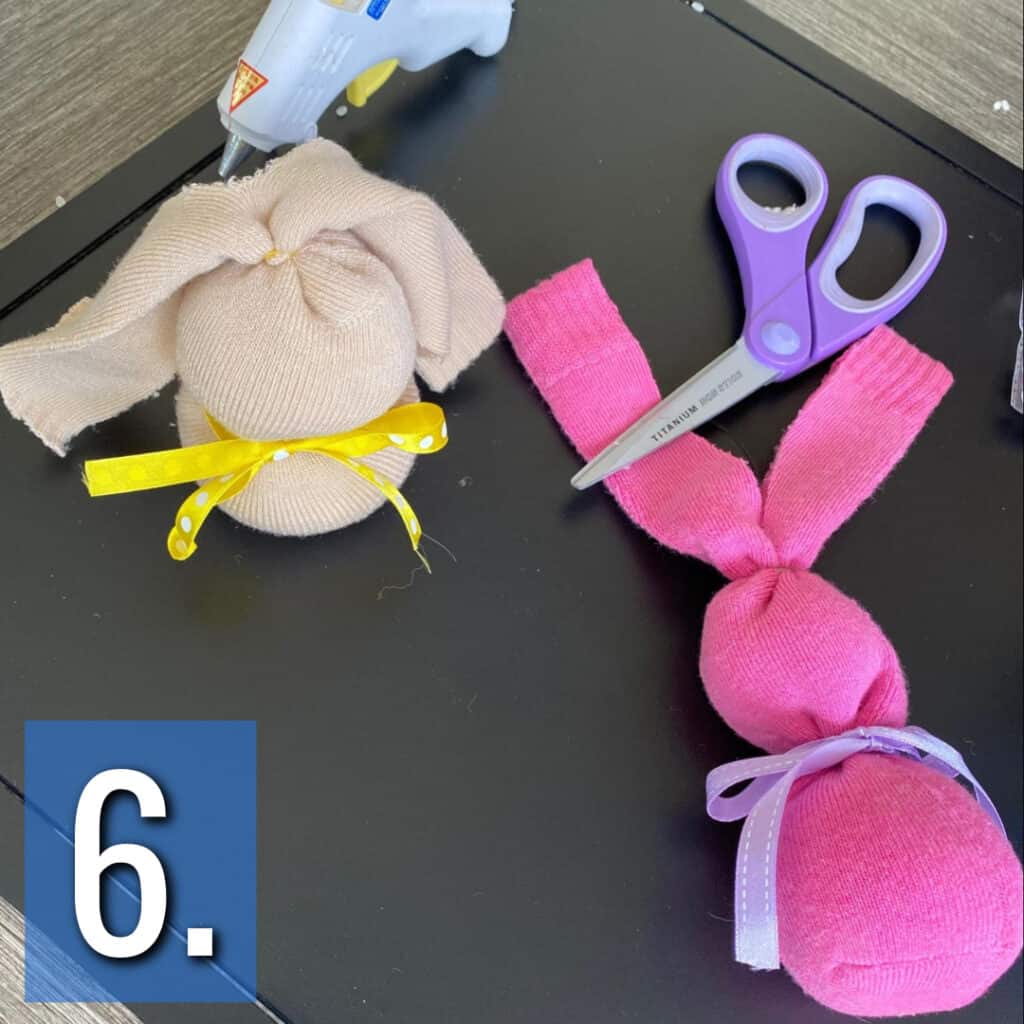
Step 6: Cut top of sock above head in half to form ears
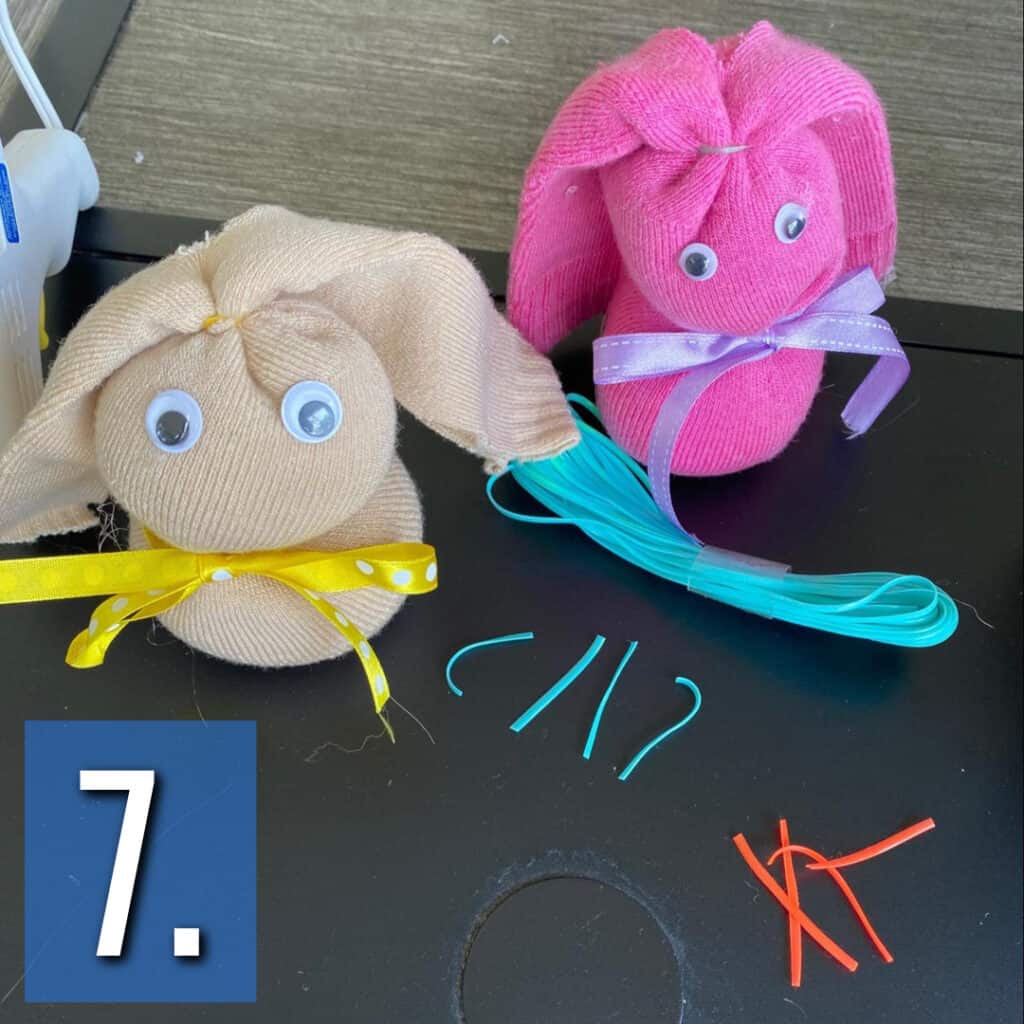
Step 7: Hot glue googly eyes (or you can use buttons for the eyes)

Step 8: Cut 4 pieces of string or pipe cleaners for whiskers
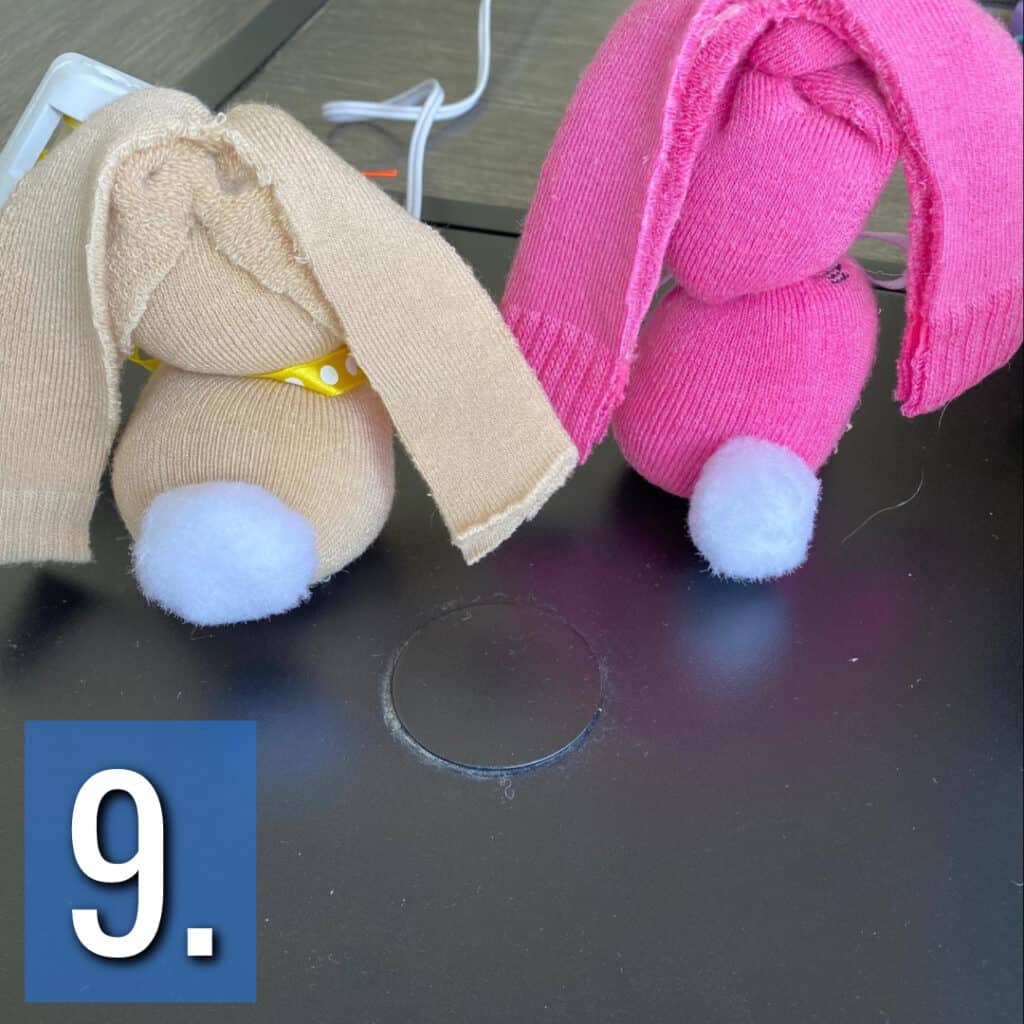
Step 9: Hot glue the whiskers, and a small pom pom or a button for the nose

Step 10: Hot glue a cotton ball to the back for a tail
Related Post: 25 Cheap & Easy Easter Crafts for Kid
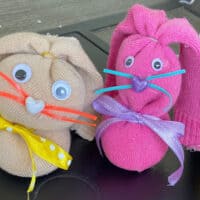
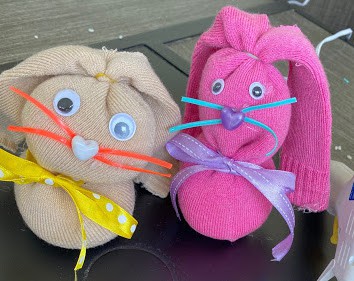
DIY Easter Sock Bunny Kids Craft
Easter will soon be here. Have some fun with your kids and make memories with this easy DIY Easter Bunny craft. See how easy it is.
Materials
Instructions
Step 1: Gather Materials
Step 2: Fill sock two-thirds of the way with rice or cotton
Step 3: Wrap rubber band above rice to tightly seal it all inside, and to create top of bunny's head
Step 4: Add another rubber band lower down to separate the rabbit head from the rabbit body
Step 5: Tie a colorful ribbon into a bow around the rabbit's neck
Step 6: Cut top of sock above head in half to form ears
Step 7: Hot glue googly eyes (or you can use buttons for the eyes)
Step 8: Cut 4 pieces of string or yarn for whiskers
Step 9: Hot glue the whiskers, and a small pom pom or a button for the nose
Step 10: Hot glue a cotton ball to the back for a tail
Hope You Enjoyed This Craft, and Remember to Save at Dollar Tree
Dollar Tree’s online inventory is amazing. You never know what gem you will find, and everything is $1!
Be sure to sign up for a free Dollar Tree account to have your $1 craft items shipped free to your local store.
Want to save this craft for later? Pin it here!
Follow us on Pinterest for more budget-friendly DIY Crafts and money saving tips!
Need Help Saving Money? Read these next…
- 9 Things to Stop Buying to Save Money Fast
- 6 Habits of Women Who Never Overspend
- 7 Bad Habits Keeping You Poor (without realizing it)
Have Fun With More DIY Projects:
*Capital One Shopping compensates us when you get the Capital One Shopping extension using the links we provided*
About the author Debbie Leifer
Debbie has a Master's degree in communications. She is a magician, mentalist, writer, creative consultant, party planner, and event producer in the Greater Atlanta area. She also freelances for Wooster Media Group LLC.