DIY Dollar Tree Fall Decor: Autumn Wreath
With back-to-school shopping in full gear around our house and the county fair quickly approaching, the sure signs of the end of summer are nearing. As evenings start getting cooler and those bright Friday night lights turn on, it’s hard to not start thinking about fall and all the amazing decor items you can do for the fall season.
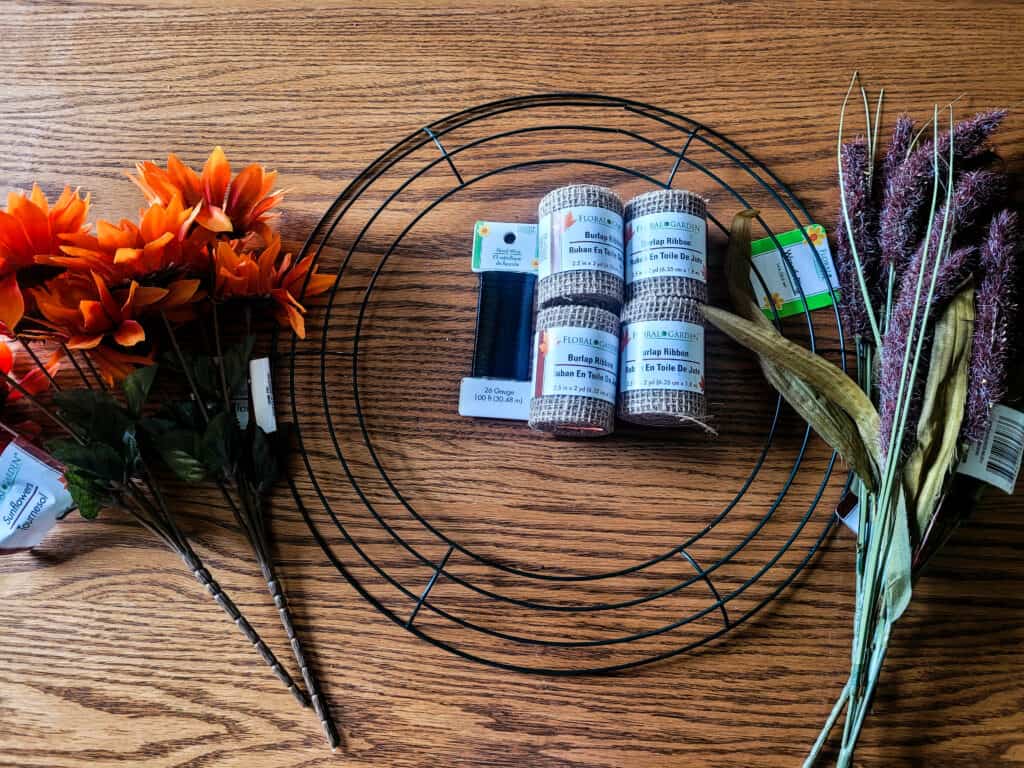
Supplies Needed:
- 14” Wire Wreath Form
- Floral Wire
- 4 rolls of Burlap Ribbon (a total of 10 feet, I only used 3 myself, but it does not hurt to have extra)
- 3 Bunches of Faux Fall Flowers
- 3 Bunches of Faux Lavender Flowers
- Scissors
- Glue Gun
Steps To Create A Fall Wreath
With a pumpkin spice latte in hand, I went to work creating a wreath that could easily work from August until it’s time for Christmas decorations. Have fun choosing the flowers, and be careful with the scissors and glue gun.
Step One: Remove All Tags, Stickers, and Wrappers
Before you start creating, take off the tags and stickers on the wire form and all the faux floral. Each of the rolls of burlap ribbon has a wrapper and tape around them. So, before starting the wreath, it’s much easier to remove the wrapper and tape from at least 3 of the rolls.
- Related: 25 Dollar Tree Fall Decor DIY Ideas
Step Two: Wrap The Wire Form
For this step, you will need three things:
- The wire wreath form
- Burlap ribbon, and
- The floral wire.
I chose the 2 o’clock position on my wire form to start wrapping the burlap ribbon. I put the end of the burlap ribbon on top of the wire form with about a centimeter or two of the ribbon pointing up past the wire form.
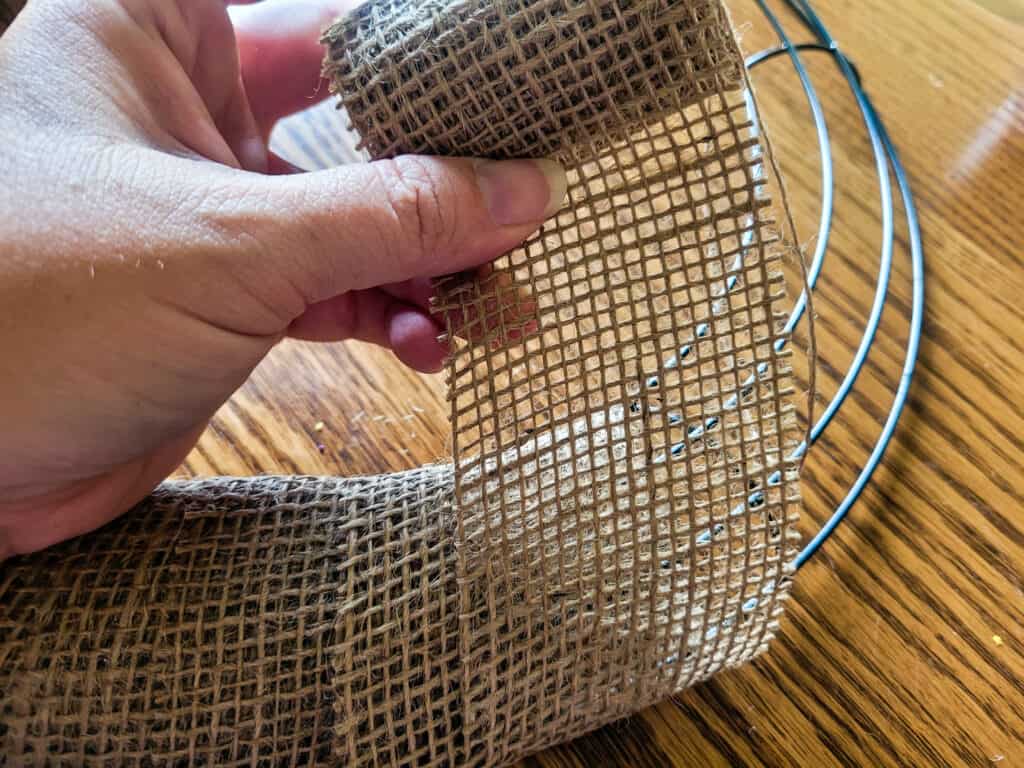
Once I had the ribbon in place, I gently bent it over the top of the wire form and secured it in place by twisting a small amount of floral wire through the ribbon and onto the wire form. I decided to go this route instead of using glue because I felt like it did a better job of securing the ribbon to the frame.
To wrap the ribbon, I followed this sequence: Start from the front/top of the wire form, wrap it around the back/bottom, and then back over the top/front.
While wrapping the frame, do your best to keep the burlap ribbon relatively taut. It worked best for me when I kept the ribbon rolled in my hand and slowly unrolled it as I wrapped the wire form.
As I wrapped the form, whenever I finished or started a new roll of ribbon, I used the floral wire to secure the ends to the wire form. Knowing that I was going to add the faux floral pieces to the wreath, I stopped wrapping the wire form between the 4 o’clock and 3 o’clock position and secured the ends with the floral wire.
When it comes to the placement of your floral pieces, there really isn’t a right or wrong place to start or stop wrapping the ribbon around the wire form. Just do what looks best to you.
Step Three: Stage Your Flowers & Secure
Before I cut off any stems from the faux flowers, I staged the flowers on the wreath-in-progress so I could visually determine how I wanted the flowers to look in the end.
To do this, I just stuck the flowers (stems and all) through the wire form. Once I had a good idea of what I wanted, I started cutting the lavender stems so that they would be staggered in height and would not poke through the burlap ribbon on the bottom.
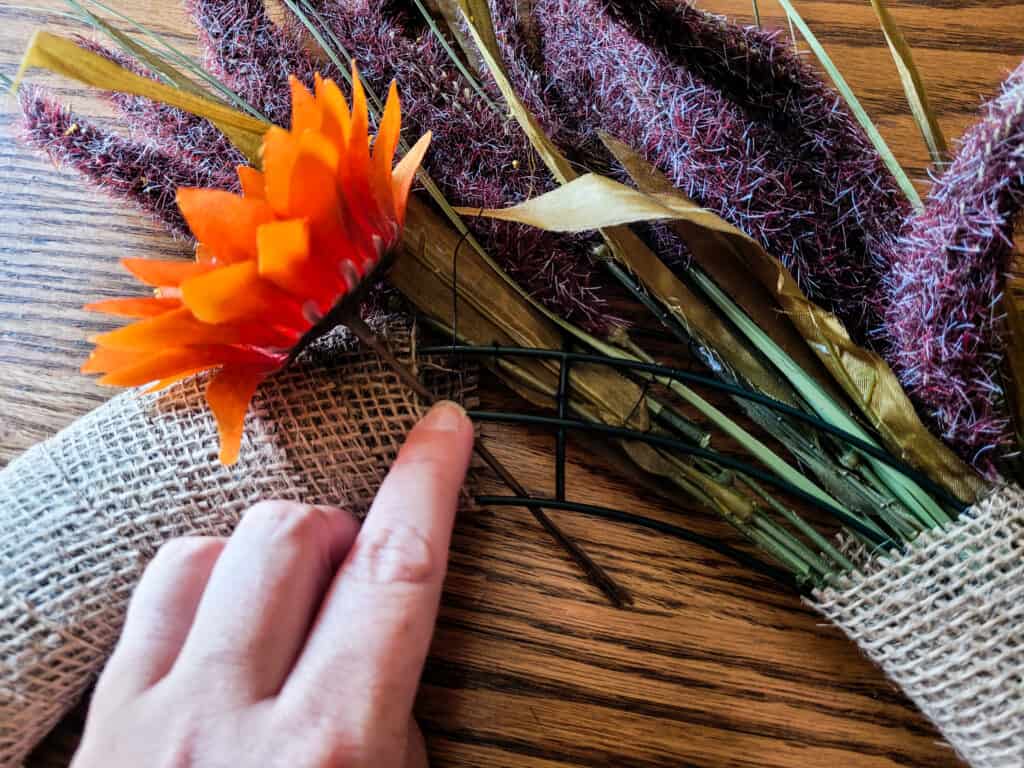
I tucked the lavender stems into the burlap ribbon to help keep the structure of the lavender pieces and to make it easier to secure them on the wire form. To secure the lavender, I used floral wire throughout to twist and tie it into place.
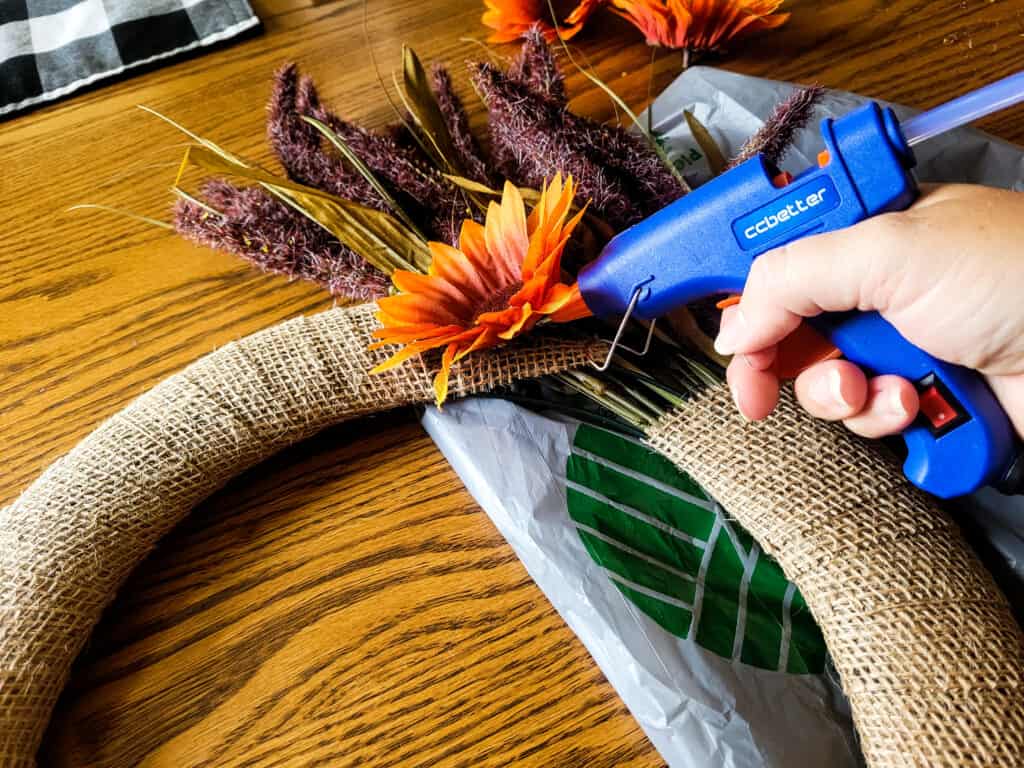
With the lavender placed where I wanted, I realized I needed a way to hot glue the flowers onto the wire form, because … in all frankness … I lost my patience trying to use floral wire to tie them into place.
I decided the best route would be to use the extra burlap ribbon to cut a 3-inch long by 1-inch wide piece and wire it to the form in between the middle and bottom front wires so that I had extra space to glue my faux flowers onto. This allowed me to make it look as full as I wanted.
Another thing I realized during the process was the heads of the flowers just popped off, so I didn’t have to cut the stems off the sunflowers. I just popped off the tops off and set the stems aside.
Popping the tops off also made it easier to glue the flowers to the wreath. I had more surface area where I could apply glue to better secure them. When you glue the flowers, give them a bunched, natural look.
- Related: 7 Ways to Save Money for Christmas
Step Four: Let It Dry
After I glued the faux flowers, I let everything dry overnight to make sure everything was set before I attempted to hang it on the door. I know it can be tempting to want to hang it right away, but your patience will be rewarded.
Free Workshop – Join our free Simplify Money Workshop
The *only* way to save money is to spend less than you earn. That means you need to decrease your expenses or increase your income.
We want to help you do both.
Join our FREE Simplify Money Workshop to learn the fundamentals of growing wealth. Because when you can spend less than you earn, your money has no choice but to grow. You will build your savings and pay down debt.
What’s more? We’ve got a bunch of free money-hacks to share with you:
- Hacks to lower your monthly bills
- Hacks to spend less on debt
- Hacks to start investing
- Hacks to increase your income by $20/month (with no extra effort)
This workshop has everything you need to accomplish the cardinal rule of personal finance: keep your income over your expenses.
Join our free 5-day Simplify Money Workshop, and start growing your wealth today.
Step Five: Hang that Wreath!
Now that you’ve finished making your wreath, it’s time to hang it on your front door! Once it’s hung, you’re one step closer to pumpkin spice lattes, pumpkin carving, and all the other things that make fall so fun!

Now that you have amazing wreath skills, use your imagination to make wreaths for any season or holiday. Perhaps for Easter you can glue some artificial lily flowers, plastic eggs, and a small bunny. You can grab some fall leaves … fake or real (but make sure they are nice and dry) and small, plastic pumpkins and create a Halloween wreath.
The possibilities are endless. Enjoy your wreath!
Want More Dollar Tree DIY Ideas?
- DIY Mason Jar Succulent Planter
- 20+ Best Dollar Tree DIY Crafts
- Drawer Organization Hack Using Items From Dollar Tree
Save more money! Read these next…
- The Top 9 Essential Dave Ramsey Tips
- Try These 11 Ways to Save Money on a Low Income
- 6 Habits of People Who Never Overspend
Save at your favorite stores:
- These are the 10 Things to Buy at Dollar Stores (and 5 Things to Avoid)
- Check Out These 7 Whole Foods Hacks
- Here are 6 Ways to Save Even More at Walmart
Want to save these tips for later? Click here to pin this post!
Be sure to follow us on Pinterest for more money-saving life hacks!
About the author Lauren Croskey
Lauren Croskey lives with her husband and children in Ohio's Amish Country. When she's not helping companies with social media or running, Lauren freelances for Wooster Media Group.


